Days 1 and 2 of the new year and I’ve been hard at work trying to come up with something fun and easy to do with the overwhelming amount of craft supplies I have littering one side of my living room. It seems to grow exponentially with each passing month. But with the help of Pinterest and a giant box of scrapbook paper (that I got free from a friend who outgrew her scrap booking obsession….sinful, that) I have created something colorful and unique that will serve a dual purpose on my list of resolutions. Firstly, I can probably sell these little bundles on Etsy for a few bucks. And secondly….well I’ll go into that a bit later.
But what did I make you ask?
Drum roll please! *vaguely sounding drum roll beat thing*
HANDMADE ENVELOPES!
.
..
…
…..
……..
That was probably the most anticlimactic thing I could’ve said. But it makes me happy to be doing something creative, so everyone else can suck it.
I even took pictures during the process to make a tutorial so I’ll remember how to do it in the future.
And here it is 🙂
Step 1:
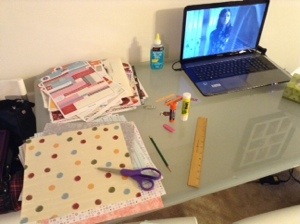
Set up your craft station (Sherlock episode optional). You will need an envelope, one piece of card stock or heavy weighted paper, scissors, a glue stick, a ruler, a pencil, and as much scrapbook paper as you can scrounge together (preferably paper with pretty designs on them).
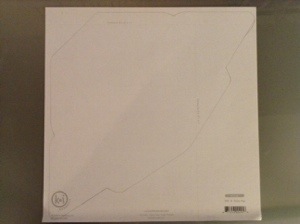
Step 2:
Carefully open up your envelope and lay it flat. Glue it to the card stock/heavy weighted paper and cut out. This is your template (hurray!)
Step 3:
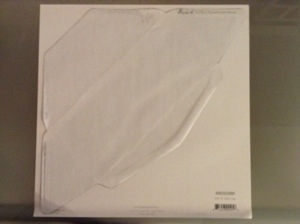
Take a piece of scrapbook paper and flip it over to the blank side. Trace your template on it. Now cut out your traced template.
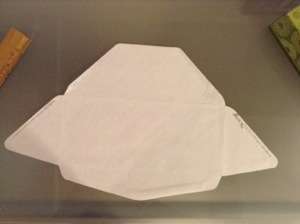
Step 4:
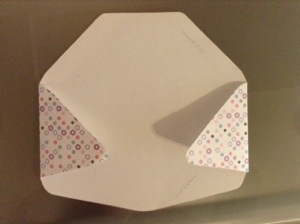
Now that your envelope is cut out, carefully fold the outer wings (flaps, triangle things, not really sure what they’re called) inward and smooth down.
Step 5:
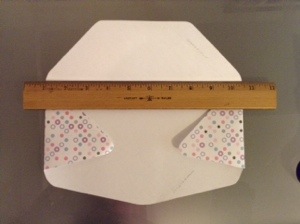
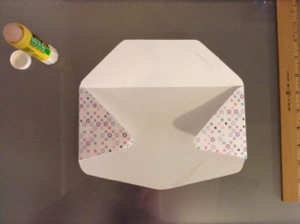
Using a ruler is optional, but I found it easier to crease in a straight line when using it. Place the ruler straight so that it line up with the corners and fold the paper up so that it creases along the line. This is a good guideline for folding it straight. Now carefully fold over. Using your glue stick, glue from the top outer corner down to the inward corner. Sounds weird, but it’s actually really simple. Do this for both flaps and smooth down the top flap. This is the body of your envelope.
It should look like this:
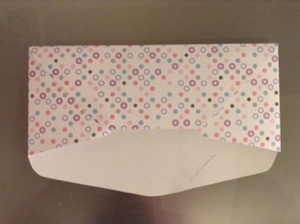
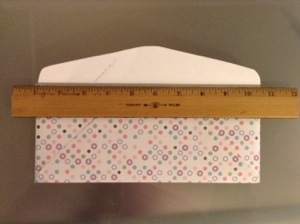
Step 6:

Flip your envelope around and crease the remaining flap using the ruler as a straight edge. Carefully fold down. You have your envelope! They aren’t self sealing; those glue strips you’d have to buy at CVS or Michael’s (which I’ll probably do at some point).
Step 7: (optional)
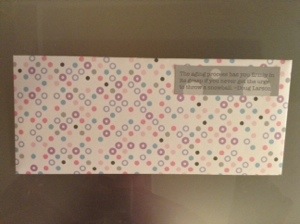
I had a bunch of other scrapbook stickers and such that I embellished the first 25 envelopes with.
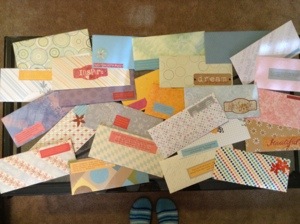
This is the finished bundle all tied up with a bow 🙂
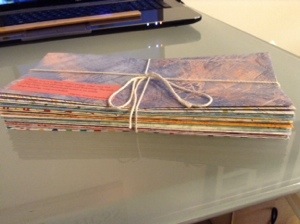
I made two other bundles, without embellishments. And will probably work on more this weekend (because it’s fun and I have a TON of scrapbook paper). Those will probably be put up on Etsy soon. This first bundle though, with the embellishments, is special. There are 25 of them, as I’m turning 25 at the end of this month. My thought it to write encouraging letters to strangers for each envelope and to place them in random parts of my hometown as one of my RAOK (random acts of kindness). The idea was inspired by The World Needs More Love Letters which is a fantastic community project with the sole mission of spreading love and happiness through the art of letter writing. It’s a fantastic project to get involved in and proves that the spark of an idea from one random person really can make a difference in so many lives.
Stay tuned for how the rest of the ROAK go 😉
Happy Thursday!